Why You'll Love This Recipe
- Quick and easy to prepare
- Packed with fresh flavors
- Customizable ingredients
- Perfect for healthy meals
Intro and Brief Recap
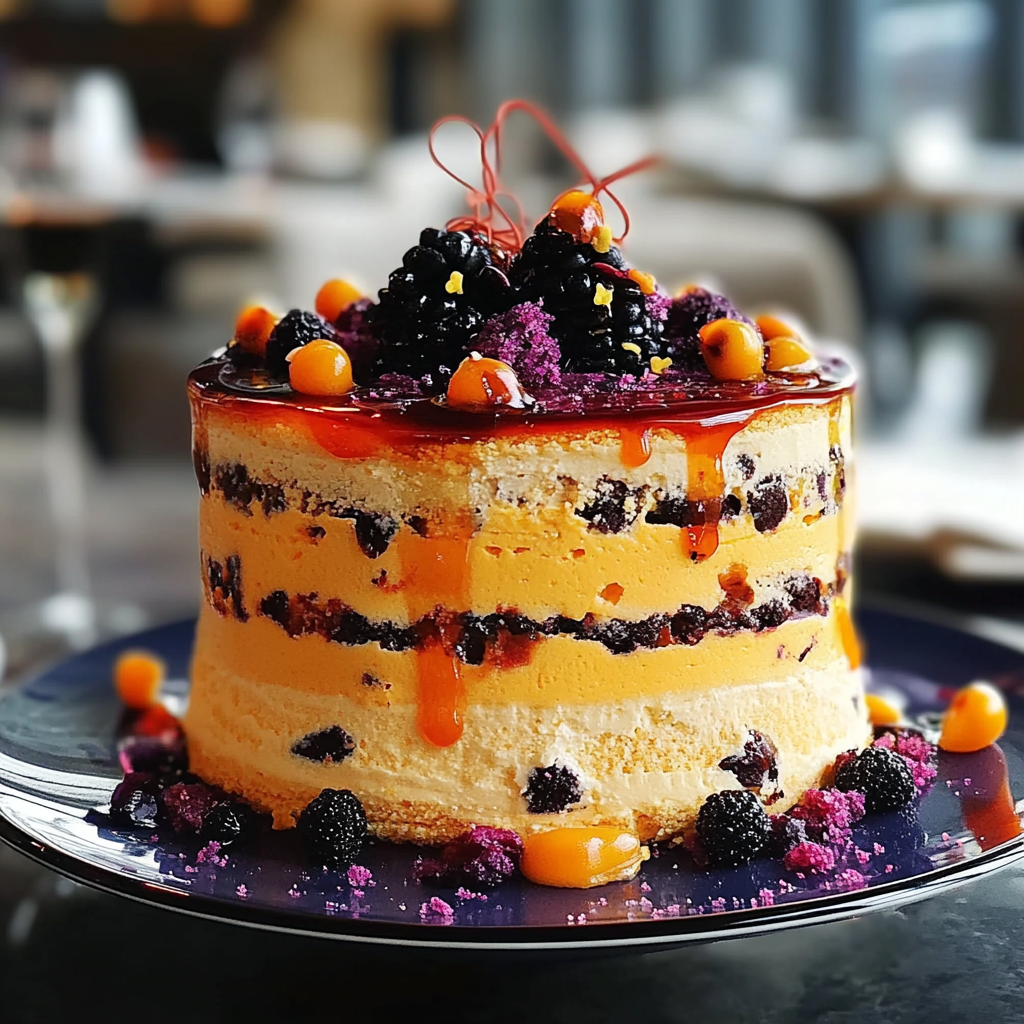
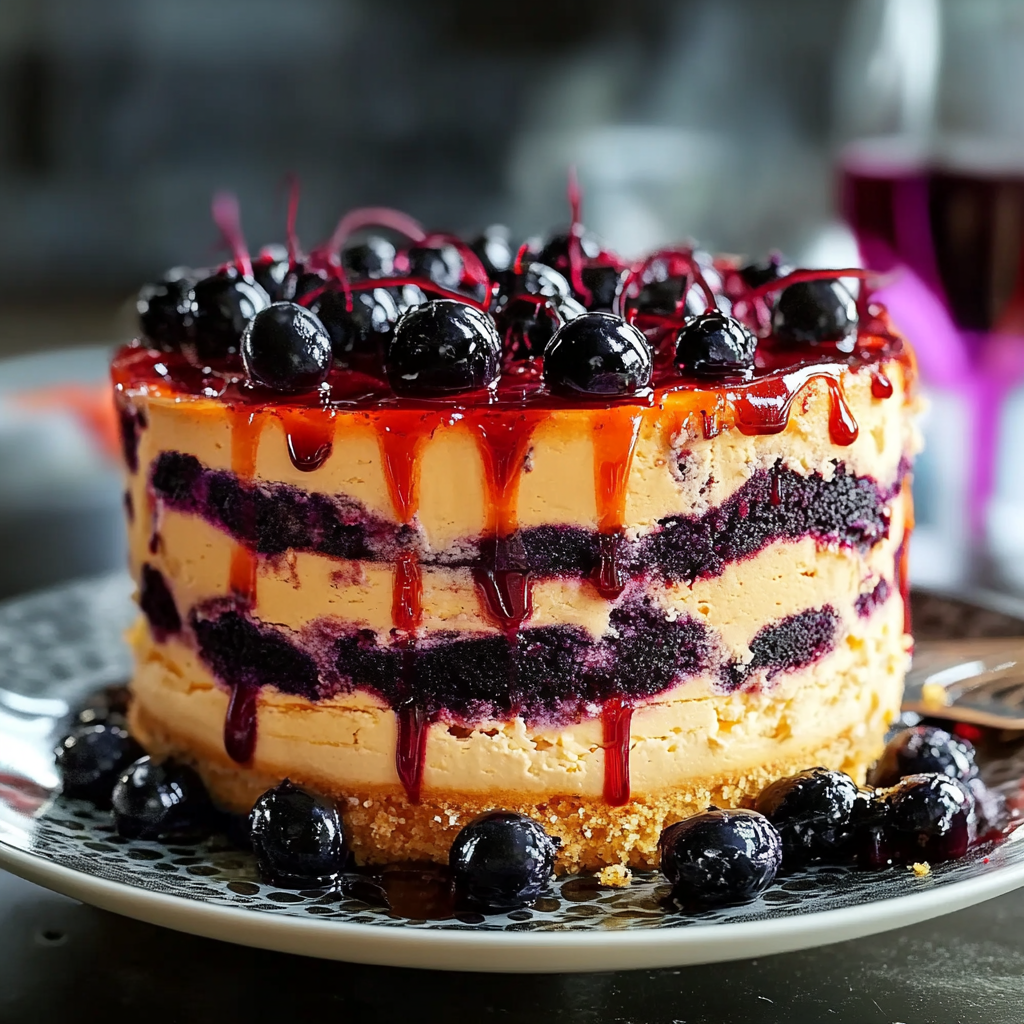
Have you ever imagined a dessert that captures the essence of Halloween while tantalizing your taste buds? The Crispy Halloween Icebox Cake is just that—a delightful treat that combines layers of crispy cookies, rich cream, and festive flavors. This no-bake dessert is not only easy to prepare but also a showstopper for any Halloween gathering. Its unique texture and taste will leave everyone asking for seconds.
Picture this: creamy layers of dreamy filling sandwiched between crunchy, chocolatey cookies, all adorned with seasonal decorations like ghosts and goblins. The anticipation builds as you slice through the cake, revealing its captivating layers. This dessert is perfect for Halloween parties, family gatherings, or even a cozy night in with loved ones. Enjoying this cake brings back fond memories of childhood Halloweens filled with laughter, costumes, and sweet treats. Get ready to impress your friends and family with a spooky yet scrumptious delight!
Key Ingredients For Crispy Halloween Icebox Cake
Here’s what you’ll need to make this delicious dish:
-
Chocolate Wafer Cookies: These cookies provide the essential crunch and chocolate flavor; opt for high-quality ones for the best results.
-
Heavy Whipping Cream: Fresh heavy cream adds richness and helps create fluffy layers; ensure it is chilled for optimal whipping.
-
Powdered Sugar: This sweetener helps stabilize the whipped cream while adding sweetness without graininess.
-
Vanilla Extract: A splash of pure vanilla enhances the overall flavor profile; choose pure extract for a more robust taste.
-
Cream Cheese: Softened cream cheese gives body to the filling while adding a slight tanginess that balances the sweetness.
-
Halloween Sprinkles: These colorful additions not only enhance the visual appeal but also add a festive touch to your cake’s presentation.
The full ingredients list, including measurements, is provided in the recipe card directly below.
Instructions For Crispy Halloween Icebox Cake
Follow these simple steps to prepare this delicious dish:
First Step : Prepare the Cream Mixture
In a large mixing bowl, combine the cold heavy whipping cream, softened cream cheese, powdered sugar, and vanilla extract. Use an electric mixer on medium speed to whip until soft peaks form.
Second Step : Layer the Cake
Take an 8×8-inch baking dish and start layering by placing a layer of chocolate wafer cookies at the bottom. Spread half of the whipped cream mixture over the cookies evenly.
Third Step : Add More Layers
Repeat the process by adding another layer of chocolate wafer cookies on top of the cream mixture. Follow this with another layer of whipped cream mixture, smoothing it out carefully.
Fourth Step : Chill
Cover the dish with plastic wrap and refrigerate for at least four hours or overnight. This allows the flavors to meld together while softening the cookies into a delightful texture.
Fifth Step : Decorate
Once chilled, remove from refrigerator and top with additional whipped cream if desired. Sprinkle Halloween-themed decorations generously over the top for an eye-catching finish.
Transfer to plates and serve slices of this spooky yet scrumptious cake for your guests to enjoy!
Expert Tips
Here are some helpful tips to ensure the best results for your dish:
-
Use Chilled Ingredients: Ensure that both your heavy whipping cream and mixing bowl are chilled prior to whipping for better volume.
-
Choose Quality Cookies: Opting for high-quality chocolate wafer cookies will enhance both flavor and texture in your icebox cake.
-
Let It Set Properly: Allowing adequate chilling time improves flavor integration—overnight is best if possible.
Preparation Steps
To create a delicious and festive Crispy Halloween Icebox Cake, follow these straightforward steps. Start by layering your ingredients thoughtfully to achieve the perfect balance of flavors and textures.
Begin with a layer of crispy cookies as the base. Alternate layers with your favorite whipped cream or pudding mixture. For added flavor, consider incorporating crushed Halloween candies or seasonal spices. Repeat this process until you reach your desired height, ensuring each layer is evenly spread.
Once assembled, cover the cake with plastic wrap and let it chill in the refrigerator for at least four hours, allowing the flavors to meld together beautifully. For the best results, refrigerate overnight. This chilling step is crucial for achieving that signature icebox cake texture.
Serving Suggestions
When it’s time to serve your Crispy Halloween Icebox Cake, presentation is key. Consider these fun serving suggestions:
Serve individual slices adorned with whipped cream and sprinkles for a festive touch.
Garnish each slice with seasonal fruits like oranges or pears to enhance flavor.
Pair it with a scoop of vanilla ice cream for an extra indulgence.
These ideas will not only elevate the visual appeal but also add delightful flavors that complement your cake perfectly.
Storage Tips
To maintain freshness and taste, proper storage of your Crispy Halloween Icebox Cake is essential. After preparing and chilling your cake, keep it covered in the refrigerator. This helps preserve the moisture and prevents any unwanted odors from affecting its flavor.
If you plan to enjoy leftovers after a few days, consider slicing individual portions and wrapping them tightly before placing them back in the fridge. This way, you’ll have easy access to delicious treats that taste just as good as when they were first made.
Variations
Feel free to get creative with variations of your Crispy Halloween Icebox Cake! Here are some ideas to inspire you:
Substitute different flavored cookies such as pumpkin spice or chocolate mint.
Experiment with various fillings like peanut butter mousse or caramel sauce.
Incorporate seasonal decorations like candy corn or gummy worms for a playful twist.
These variations can help you cater to different tastes while keeping your dessert fun and festive.
FAQs
What ingredients are needed for a Crispy Halloween Icebox Cake?
To make a Crispy Halloween Icebox Cake, you’ll need simple ingredients that create a delightful combination. Start with crispy cookies such as graham crackers or Oreo cookies as the foundation. You’ll also require whipped cream or pudding mix for layering between the cookies. Adding in crushed Halloween candies can give an extra festive touch. Don’t forget optional ingredients like seasonal spices or fruit to enhance flavors further!
How long should I refrigerate my Crispy Halloween Icebox Cake?
For optimal results, let your Crispy Halloween Icebox Cake chill in the refrigerator for at least four hours after assembling it. However, if you can wait overnight, that’s even better! Allowing it to sit longer helps meld all the flavors together while giving the layers time to soften into that classic icebox cake texture.
Can I make a gluten-free version of this cake?
Absolutely! To create a gluten-free Crispy Halloween Icebox Cake, simply use gluten-free cookies instead of standard ones. Many brands offer tasty alternatives that work well in this recipe without compromising on flavor or texture. Ensure your whipped cream or pudding mix does not contain gluten ingredients as well; most are naturally gluten-free but always check labels for safety.
How can I decorate my Crispy Halloween Icebox Cake?
Decorating your Crispy Halloween Icebox Cake can be both fun and creative! You can top it with additional whipped cream and sprinkle colorful candy over it for a festive look. Adding chocolate shavings or drizzles can enhance its visual appeal too! Seasonal decorations such as candy corn or edible eyes can give it that perfect Halloween touch while delighting everyone who sees (and eats) it!

Crispy Halloween Icebox Cake
- Total Time: 20 minutes
- Yield: Serves 8
Description
Crispy Halloween Icebox Cake is a tantalizing no-bake dessert that perfectly embodies the spirit of Halloween. With layers of crunchy chocolate wafer cookies and rich, creamy filling, this cake is both visually stunning and deliciously indulgent. Adorned with festive decorations, it’s an ideal centerpiece for Halloween parties or a sweet treat for family gatherings. Easy to prepare and guaranteed to impress, this delightful dessert will bring joy to any celebration.
Ingredients
- 2 cups heavy whipping cream
- 8 oz cream cheese, softened
- 1 cup powdered sugar
- 1 tsp pure vanilla extract
- 1 package (9 oz) chocolate wafer cookies
- Halloween sprinkles for decoration
Instructions
- In a large bowl, whip together the heavy cream, softened cream cheese, powdered sugar, and vanilla extract until soft peaks form.
- In an 8×8-inch baking dish, layer half of the chocolate wafer cookies at the bottom. Spread half of the whipped cream mixture evenly over the cookies.
- Add another layer of chocolate wafer cookies followed by the remaining whipped cream mixture, smoothing it out gently.
- Cover with plastic wrap and refrigerate for at least four hours or overnight for best results.
- Decorate with extra whipped cream and Halloween sprinkles before serving.
- Prep Time: 20 minutes
- Cook Time: 0 minutes
- Category: Dessert
- Method: No-bake
- Cuisine: American
Nutrition
- Serving Size: 1 slice (approximately 125g)
- Calories: 320
- Sugar: 20g
- Sodium: 75mg
- Fat: 24g
- Saturated Fat: 15g
- Unsaturated Fat: 7g
- Trans Fat: 0g
- Carbohydrates: 30g
- Fiber: 1g
- Protein: 3g
- Cholesterol: 85mg