Introduction |
Do you really believe that achieving the perfect balance of fudgy chocolate and salty peanut butter requires a professional pastry degree? I used to think my kitchen was a disaster zone where brownies went to die, often emerging from the oven as either bricks or puddles of sadness. The dream was always a chewable, rich square with that specific crunch that makes your brain light up with joy.
I almost gave up on this recipe until I realized I was treating my batter like a science project rather than a snack. After three failed attempts—one of which involved a peanut butter swirl that looked more like a muddy puddle—I finally nailed the temperature and the folding technique. Now, these brownies are my secret weapon for convincing people that I actually have my life together.
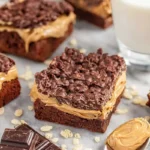
Imagine a deep, dark chocolate base that clings to your teeth in the best way possible, topped with a layer of golden peanut butter and a scattering of salty crunch. It is a sensory overload that hits every single taste bud simultaneously. Why settle for a store-bought tray when you can create a masterpiece in your own oven?
- ●The contrast between the fudgy base and the crispy topping is addictive.
- ●It uses simple pantry staples you likely already have in your cupboards.
- ●The peanut butter swirl creates a beautiful marble effect every single time.
- ●These brownies stay moist for days, meaning you don’t have to rush to eat them.
- ●It is an impressive dessert that looks like it took hours but only takes minutes of effort.
Essential Ingredients |
Unsalted Butter: I prefer using high-quality grass-fed butter for a richer flavor. If you skip this, your brownies will lack that melt-in-your-mouth texture and feel more like cake.
Semi-Sweet Chocolate Chips: Ghirardelli is my go-to here because they melt consistently. Without these, you lose the deep cocoa intensity that defines a true brownie.
Creamy Peanut Butter: Jif or Skippy work best for a nostalgic taste, though natural brands are fine if you stir them well. Omitting this turns this into a standard brownie, and we are here for the peanut butter!
Granulated Sugar: I use standard white sugar for the best crust. Skipping the sugar will leave you with a bland, cocoa-flavored brick that no one will want to eat.
All-Purpose Flour: King Arthur is the gold standard for consistency. If you leave this out, your brownies will simply be a puddle of chocolate soup in the pan.
Eggs: Large, room-temperature eggs are essential for lift. Skipping them means your brownies won’t bind together and will crumble into a thousand pieces.
Crushed Pretzels: I love the extra saltiness they provide. Without these, you lose the ‘crunch’ factor and the essential salty contrast to the sugar.
 Let’s Make it Together |
- First things first, go ahead and preheat your oven to 350°F and grease up an 8×8 inch pan so we don’t have a sticky nightmare later.
- Now, melt your butter and chocolate chips together in the microwave in 30-second bursts—just keep stirring so you don’t burn the chocolate!
- Stir in your sugar and eggs one by one, whisking it all together until the batter looks glossy and smooth.
- Gently fold in your flour and a pinch of salt; don’t overmix it, or you’ll end up with a cake instead of a fudge-bomb.
- Pour that chocolatey goodness into the pan and spread it out evenly with a spatula.
- Drop big globs of peanut butter on top and use a knife to swirl them around in a fancy pattern.
- Scatter your crushed pretzels across the top like you’re an artist creating a masterpiece.
- Pop it in the oven for about 25 to 30 minutes, but keep an eye on it so the edges don’t get too crispy.
Do not overbake these or you will lose the fudgy center.
Line your pan with parchment paper to make cleanup a breeze.
Use room temperature eggs to ensure the batter doesn’t break.
Avoid over-mixing the flour to keep the texture dense.
Let the brownies cool completely before slicing them into squares.
Perfecting the Cooking Process |
The secret to the perfect brownie is all in the timing. You want to pull them out when a toothpick inserted into the center comes out with a few moist crumbs attached, rather than completely clean. If the toothpick is clean, you’ve gone too far and they will be dry.
Temperature control is also vital here. Ensure your oven is fully preheated and avoid opening the door every five minutes, as this lets out the heat and can cause the brownies to sink in the middle. A steady heat ensures that the peanut butter sets without separating into oil.
Add Your Touch |
If you want to take these to the next level, try adding a handful of chopped walnuts or pecans to the batter for an extra layer of nuttiness. You could also swap the semi-sweet chocolate for dark chocolate if you prefer a more sophisticated, less sugary profile.
Feeling adventurous? Try adding a swirl of salted caramel alongside the peanut butter. Another great twist is to sprinkle a bit of flaky sea salt over the top right after they come out of the oven to make the flavors pop.
Storing & Reheating |
Keep these brownies in an airtight container at room temperature for up to four days. If you want them to last longer, you can pop them in the fridge, which actually makes them even fudgier and denser.
To reheat, just put a square in the microwave for about 10 to 15 seconds. This softens the chocolate and warms the peanut butter, making it taste like they were just baked in your oven.
1Sift your flour to avoid any lumps in the batter.
2Use a digital scale for ingredients to ensure perfect accuracy.
3Avoid using ‘natural’ peanut butter that separates too much.
4Tap the pan on the counter to remove any trapped air bubbles.
5Chill the sliced brownies for an hour for perfectly clean cuts.
FAQ |
- ●Q: Why are my brownies cakey instead of fudgy?A: This usually happens because you over-mixed the batter after adding the flour, which develops too much gluten. To keep them fudgy, stir the flour in gently with a spatula just until the white streaks disappear.
- ●Q: Can I use a different type of nut instead of peanut butter?A: Yes, almond butter or cashew butter can be used as a direct substitute. Just keep in mind that the flavor profile will be milder, so you might want to add a pinch more salt to compensate.
- ●Q: How do I stop the peanut butter from disappearing into the batter?A: The trick is to dollop the peanut butter on top after the batter is in the pan. If you stir it in completely, you get a peanut butter brownie, but not the beautiful swirl effect.
- ●Q: Can I make these gluten-free?A: You can substitute the all-purpose flour with a 1:1 gluten-free baking blend. Make sure your blend contains xanthan gum, otherwise the brownies might be too fragile and crumble when you slice them.
- ●Q: Is it possible to freeze these brownies?A: Absolutely, these freeze beautifully for up to three months. Wrap them individually in plastic wrap and then place them in a freezer bag to prevent any freezer burn from ruining the taste.
- ●Q: Why did my peanut butter swirl separate into oil?A: This often happens if the oven temperature is too high or if you used a very oily natural peanut butter. Try a commercial brand for a more stable swirl that holds its shape during baking.
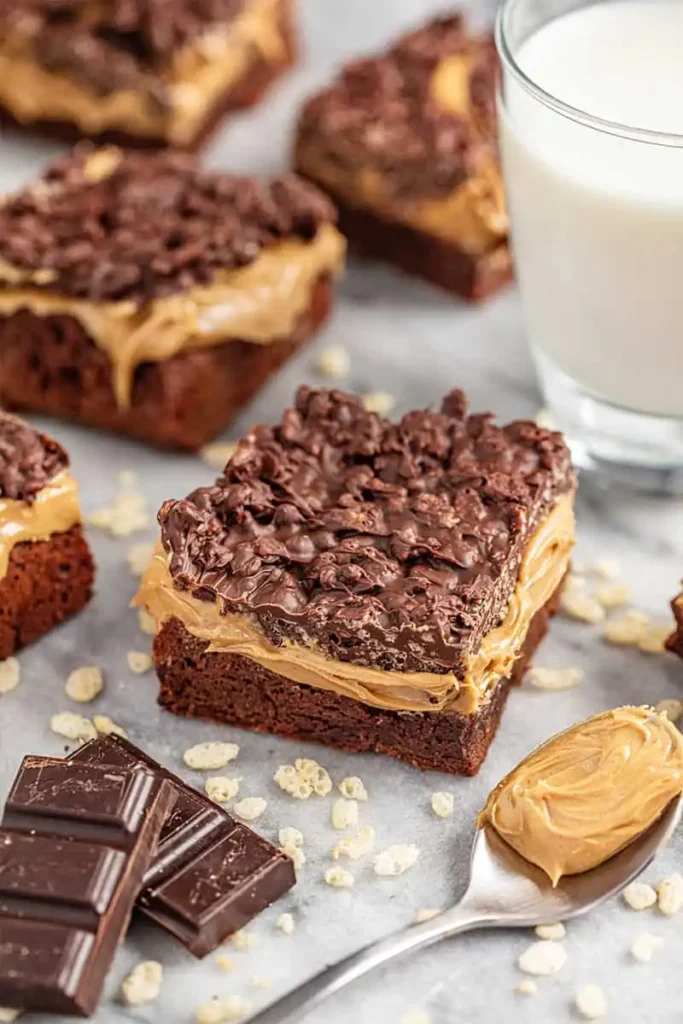
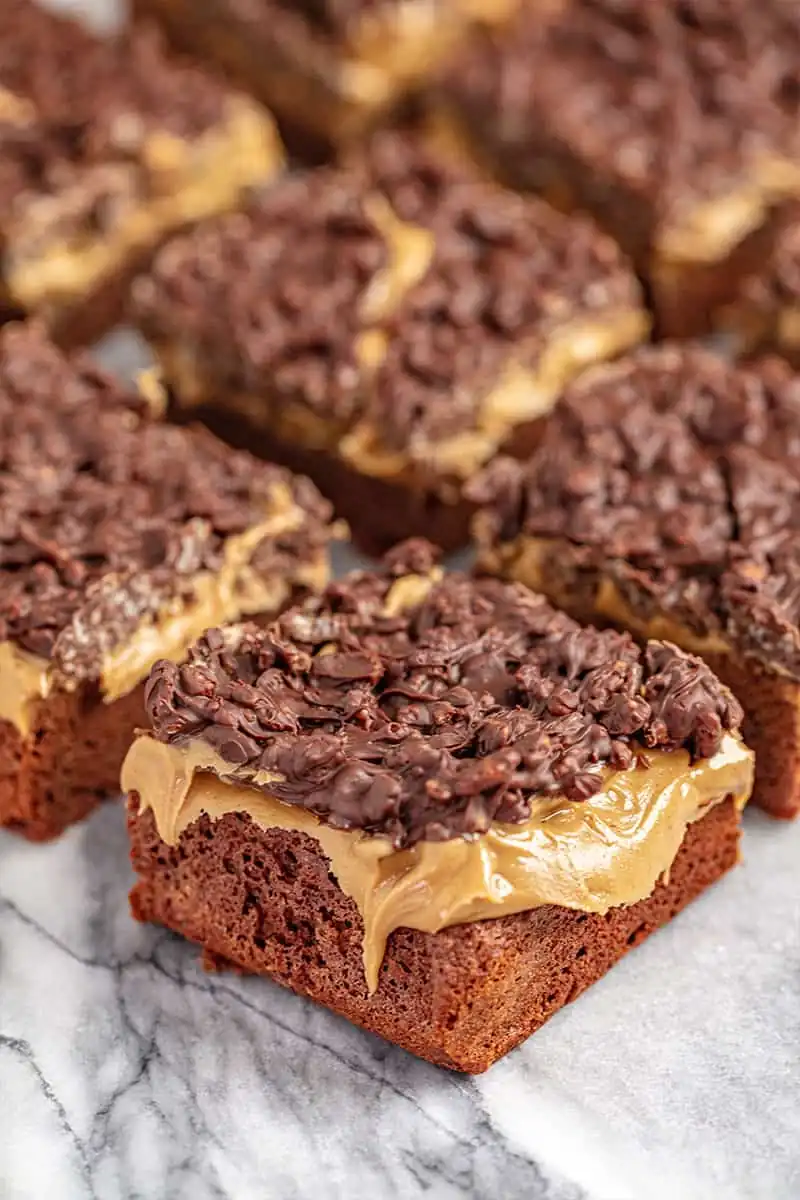
The Ultimate Peanut Butter Crunch Brownies: A Chocolatey Masterpiece
- Total Time: 45 minutes
- Yield: 16 squares 1x
Description
Decadent fudgy chocolate brownies topped with a creamy peanut butter swirl and crunchy pretzels for the ultimate sweet and salty treat.
Ingredients
- 1/2 cup unsalted butter, melted
- 1 cup semi-sweet chocolate chips
- 1 cup granulated sugar
- 2 large eggs
- 1/2 cup all-purpose flour
- 1/4 cup creamy peanut butter
- 1/2 cup crushed pretzels
- 1/4 tsp salt
Instructions
- Preheat oven to 350°F and grease an 8×8 inch baking pan.
- Melt butter and chocolate chips together in the microwave, stirring every 30 seconds.
- Whisk in sugar and eggs until the mixture is smooth and glossy.
- Fold in flour and salt until just combined.
- Pour batter into the prepared pan and smooth the top.
- Dollop peanut butter on top and swirl with a knife.
- Sprinkle crushed pretzels over the top.
- Bake for 25-30 minutes until a toothpick comes out with moist crumbs.
- Prep Time: 15 minutes
- Cook Time: 30 minutes
- Category: Dessert
- Method: Baking
- Cuisine: American