A Festive Celebration in Every Bite |
- ●Visually stunning colors that immediately brighten any holiday table spread.
- ●A perfect balance of a chewy cookie base and a soft, frosting-like topping.
- ●One-pan baking means significantly less cleanup after your party.
- ●Beginner-friendly instructions that remove all the guesswork from the process.
- ●Highly customizable flavors that allow you to tweak the sweetness to your liking.
Essential Ingredients |

Let’s Make it Together |
- Cream together the butter and sugars until the mixture looks pale and fluffy, like a soft cloud. This aeration is key for a light texture; avoid over-mixing which can make the bars too tough.
- Whisk in the vanilla and eggs one at a time until the batter is smooth and glossy. Ensure the eggs are at room temperature so they emulsify properly; cold eggs can cause the butter to seize.
- Fold in the flour and baking soda gently using a spatula until no white streaks remain. Stop as soon as the flour disappears to prevent the gluten from over-developing, which would result in a bread-like consistency.
- Press the dough evenly into a parchment-lined baking pan, ensuring the corners are firmly pushed down. Use a flat spatula for a level surface; uneven thickness leads to some parts burning while others remain raw.
- Bake in the center of the oven until the edges are golden brown and the center springs back when lightly touched. Avoid opening the oven door too frequently, as the sudden drop in temperature can cause the bars to sink.
- Divide the remaining frosting or dough into three bowls and stir in the red, white, and blue coloring. Swirl these colors onto the cooled surface using a toothpick; be careful not to over-mix the colors or they will turn brown.
Always line your pan with parchment paper to ensure the bars lift out effortlessly.
Room temperature ingredients are non-negotiable for a smooth, non-curdled batter.
Avoid over-baking the bars, as they continue to set while cooling in the pan.
Use gel-based food colors rather than liquid for more vibrant, saturated patriotic hues.
Let the bars cool completely before slicing to get those sharp, professional-looking edges.
Perfecting the Cooking Process |
Add Your Touch |
Storing & Reheating |
1Sift your flour before adding it to the bowl to eliminate clumps and ensure a perfectly smooth batter.
2Use a digital scale for measurements to get consistent results every single time you bake.
3Chill the dough in the fridge for 30 minutes before baking for a deeper, more complex flavor profile.
4Apply a thin layer of butter to the parchment paper for an extra-easy release from the pan.
5Use a hot knife, dipped in warm water and wiped dry, to get perfectly clean cuts between bars.
FAQ |
- ●Q: Can I use a different pan size than recommended? A: Yes, you can use a different pan, but you must adjust the baking time. A smaller pan will result in thicker bars that require a longer bake time at a slightly lower temperature to avoid burning the edges while the center remains raw.
- ●Q: Why did my food coloring bleed into the white sections? A: This usually happens if the bars were still too warm when the frosting was applied. Ensure the cookie base has cooled completely to room temperature, as heat breaks down the stabilizers in the coloring and causes the pigments to migrate across the surface.
- ●Q: How do I get the colors to look more professional and less messy? A: Use a toothpick or a small skewer to create a “marbling” effect the colors in a figure-eight motion. Avoid stirring the colors together too much, as over-mixing will lead to a muddy purple or brown color instead of distinct red, white, and blue.
- ●Q: Is it possible to freeze these cookie bars for later use? A: Absolutely, these bars freeze beautifully. Wrap them individually in plastic wrap and place them in a freezer-safe bag; when you are ready to enjoy them, simply thaw them in the refrigerator overnight to maintain the structural integrity of the festive frosting.

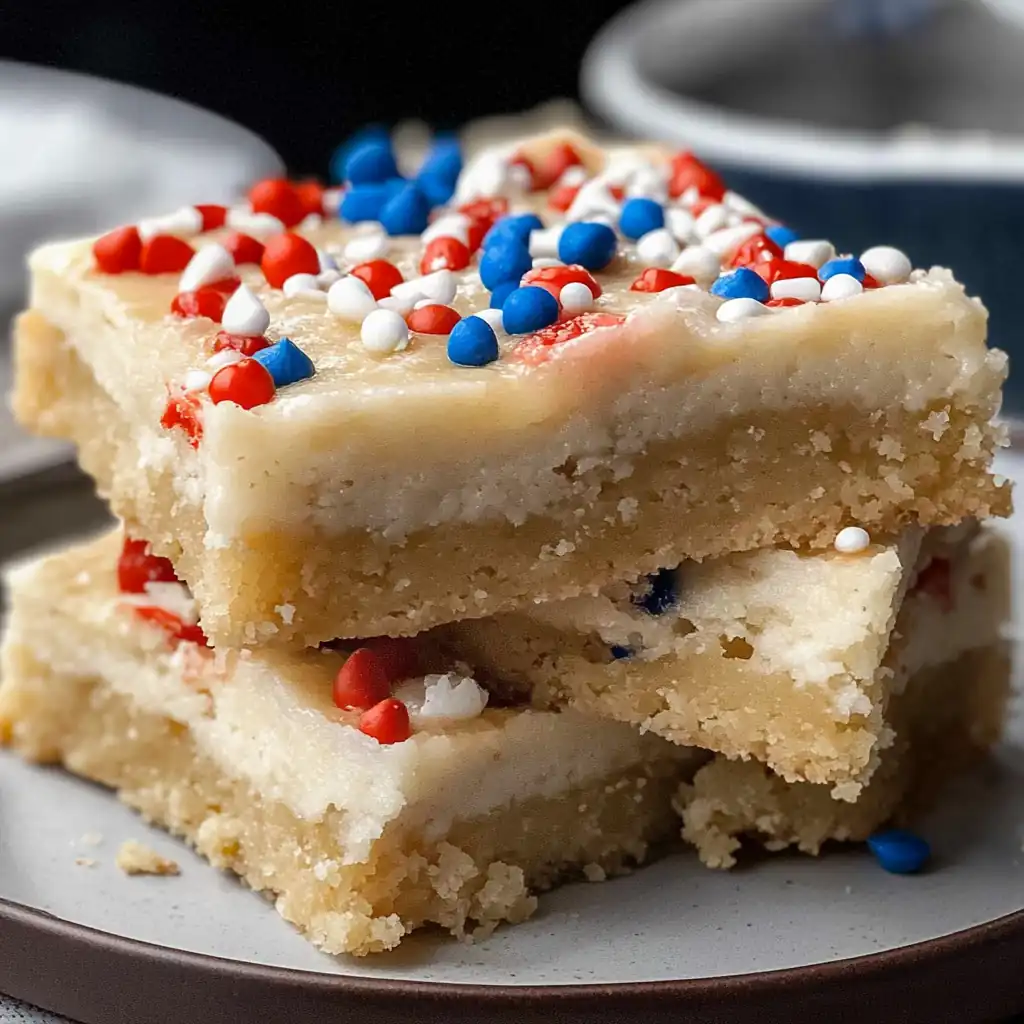
Celebrate with Delicious Fourth of July Cookie Bars
- Total Time: 45 minutes
- Yield: 16 bars 1x
Description
A colorful, chewy, and buttery dessert perfect for celebrating Independence Day. These bars feature a rich cookie base with a vibrant patriotic swirl on top.
Ingredients
- 1 cup unsalted butter, softened
- 3/4 cup brown sugar
- 3/4 cup granulated sugar
- 2 large eggs
- 1 tsp vanilla extract
- 2 1/4 cups all-purpose flour
- 1 tsp baking soda
- 1/2 tsp salt
- Red, Blue, and White food coloring
- 1/2 cup powdered sugar (for frosting swirl)
Instructions
- Preheat oven to 350°F (175°C) and line a 9×9 inch pan with parchment paper.
- Cream butter and both sugars together until light and fluffy.
- Beat in eggs and vanilla extract until well combined.
- Sift in flour, baking soda, and salt, then fold gently into the wet ingredients.
- Press dough into the prepared pan and bake for 20-25 minutes until edges are golden.
- Cool completely, then apply colored frosting swirls using a toothpick for a festive effect.
- Prep Time: 20 minutes
- Cook Time: 25 minutes
- Category: Dessert
- Method: Baking
- Cuisine: American